Kit look UpToolsAbout UsHelpArticlesHI-AMP Alternators
ALTERNATOR & STARTER EDUCATIONAL ARTICLES
Our goal is to make our site the most educational starting/charging system site on the web. Rebuilderinabox is dedicated to the real American mechanic in the trenches. Please read our Mission Statement. No other site is like it. As 40 year veterans in starter/ alternator rebuild shops, we are extremely overqualified to explain starting / charging system functions in such a way that even the novice can gain a basic, easy to understand knowledge of vehicular starting and charging systems. If you have the tools and the ability to take the alternator or starter off your car, then you have the ability to rebuild your own alternator or starter. We will guide you every step of the way.
Watch How to Rebuild Starters and Alternators
We would also like to welcome any and all classroom educators and students. And we predict that many of the traditional textbook voltage drop methodology may be rendered antiquated after adapting our procedures. Our test methods have been professionally proven in the field for many years, with many different models of cars to be easier, faster and more accurate.
First, we would like to start by dispelling the 2 most common mistakes that millions of non professionals (and even some professionals) make. This is a MUST read starting/charging systems article. It explains a test procedure that millions of people use, and is a huge mistake.
The article also explains why. Must read alternator test.Then the article covers an extremely important procedure that has to be performed, and millions of people don’t do it. Stupid man.
Also a very quick read is an amusing anecdote, yet happens to be very true. Smoke.
The remainder of educational articles are sectioned off in 2 categories. Alternators and charging systems, and Starters and Starting Systems.
ALTERNATORS AND CHARGING SYSTEMS
First, we would like to expose the reader to alternator installation rules to ensure the alternator installation procedure is a successful operation. We will teach you the best, easiest foolproof way to final check a vehicle’s charging system so that you can complete your job with confidence.
Albert Einstein once said “ The definition of insanity is doing the same thing over and over and expecting different results.” One of the most important steps of electrical component replacement is careful observation of the unit being removed. Diagnose What You’re Removing.
Various parts of the alternator are covered in detail. Bearings is a run down with pictures and measurements to visually ID and number the most common bearing sizes that can be encountered inside most every alternator type. Voltage regulators is a historical account (in chronological order) of the development from beginning to present day GM regulators and a basic explanation of how they work and what they were designed to do.
Diodes change AC that is generated in the stator coils to DC. There are several new developments with alternator pulleys that most people are unaware of. One of the most difficult problems to diagnose is a scenario called parasitic load or drain. A basic knowledge of fuses will be helpful when confronted with this type of issue. As a recap we walk you through a complete rebuild of a late Denso alternator 13870 from a Chrysler mini van which contains the components just learned.
STARTERS AND STARTING SYSTEMS
The 2 most common factors on a vehicle that contribute to premature starter replacement
Is the battery and the flywheel. All diagnostics should always start with the battery. Never assume the battery is good, simply because the headlights work. Even if the battery is brand new, it may have sat on the shelf long enough to have a dead cell, or need a trickle charge.
The cheapest, smartest thing to do if you do not have proper battery test equipment is to take the battery out of the vehicle, and have the local lbig box auto store charge and check the battery for you. This service is usually a nominal fee if not free. We have an article to explain to you how to properly charge a battery if you need to do so.
Some people think flywheel wear can be pacified by starter replacement. It will not. In fact it will make it worse. We have had a lot of luck, though, with our in house method : Put a band aid on a flywheel. We also take a deeper look at flywheels with a few other articles Easy Flywheel Test. Some (mostly 70’s) starters can achieve a better sound with the installation of a shim. We have suggestions on how to do that properly.
People have 3 common complaints when they think they’re starter is going bad and are lucky enough not to be left stranded. A dead spot is from a bad armature or worn brushes or both.
Other than the common “clicking or whining” problems, some people experience “My Starter Drags”
When installing a new starter we do NOT support the use of lock washers. This article explains why and what we do instead to eliminate future problems caused by their use.
The one thing that is a death sentence to a starter is being overused without sufficient cool down period. When the starter is removed, there is a horrible burnt smell. The Smell is very strong and doesn’t go away.
Be sure to watch the vintage Corvette starter rebuild movie.
We were invited to be on set with Dave and Sam’s Motorhead Garage in Bristol, TN
Alternator Parts and Starter Parts
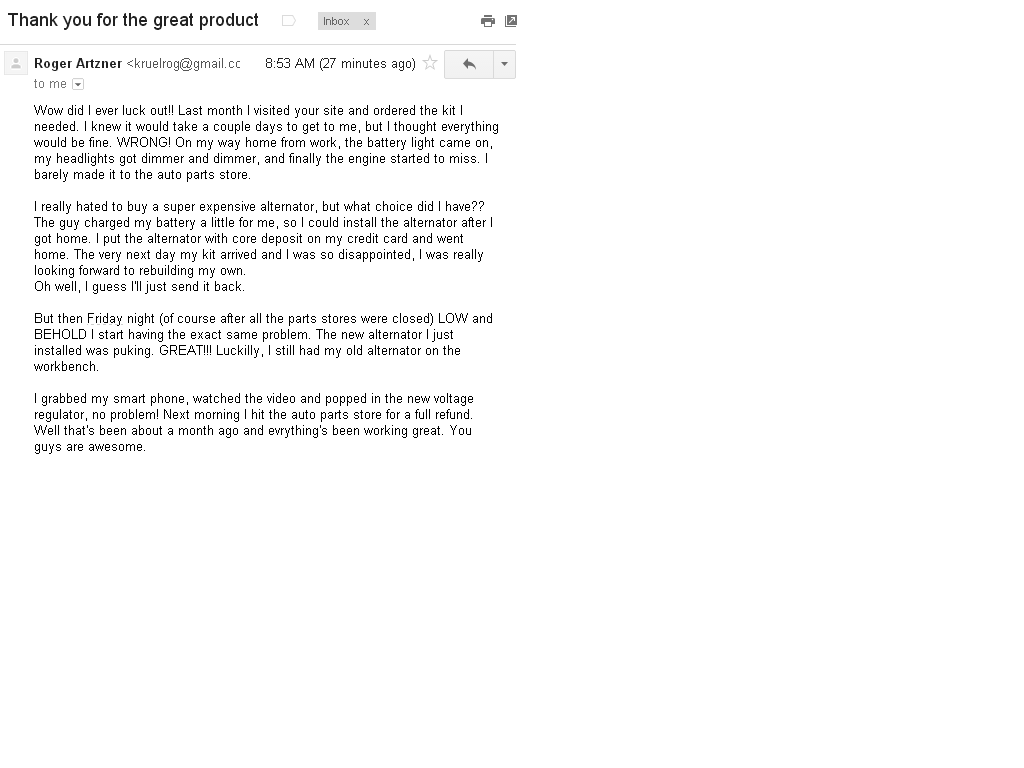
Customer Email
Here is a customer email we would like to share with all of you.


